
In this article, I will share the process of making Paper Cutting and Painting Cupo-Obama, based on the official portrait of Barrack Obama, who served as the 44th President of United States of America from 2009 to 2017. (image source: https://commons.wikimedia.org/wiki/File:Official_portrait_of_President_Barack_Obama_(8390033709).jpg )
For the preliminary process, the portrait modified using Adobe Photoshop and Inkspace. I decided using 5 layers for the portrait itself and 2 layers for the background. It’s quite difficult to choose the color of the portrait because people will correlate or compare this vector portrait with the famous “Change” poster created by Shepard Fairey. Then my decision is using monochrome color, from black to white. Because it will create contrast when I put the monochrome portrait with a colorful background.
It all started with white papers. All layered that made with vector software transformed to A3 paper, 200 gsm thickness. Then one by one transformed into gray color gradations using water-based paint.
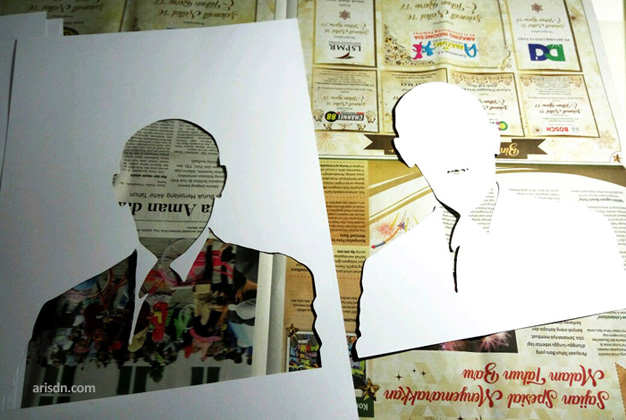 The layer and the A3 paper.
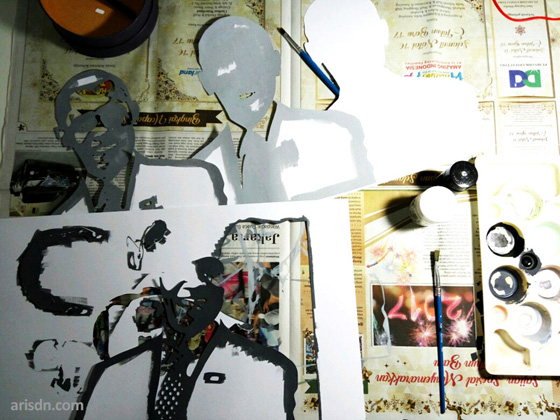
 The small details that build up the top layer.
 The top layer and the details are painted with black color.
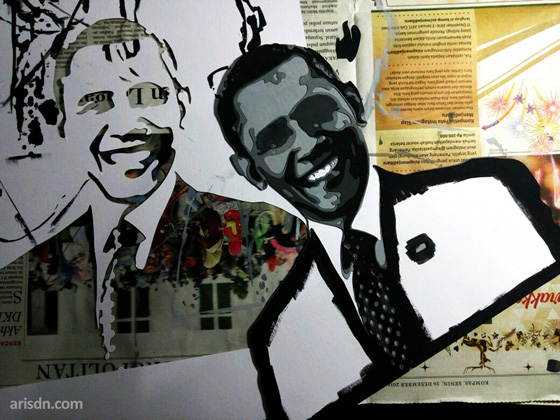
 The 2nd and 3rd layer
 The layers of Cupo-Obama
 Before applying glue on each layers
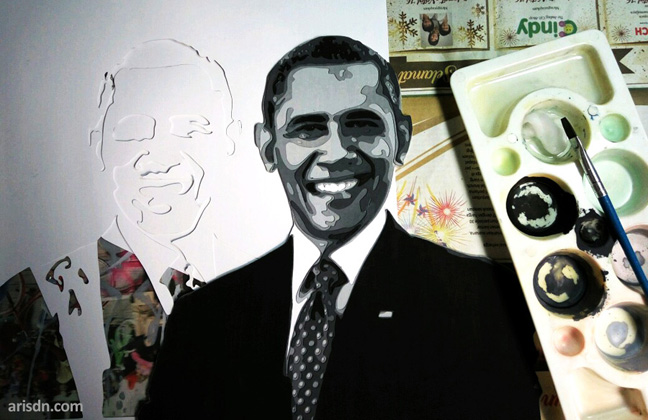 The final assembly of Cupo-Obama portrait
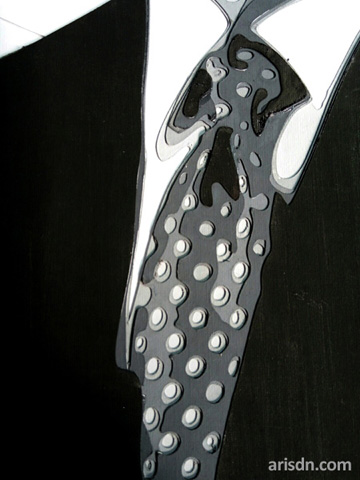 The small details of the tie.
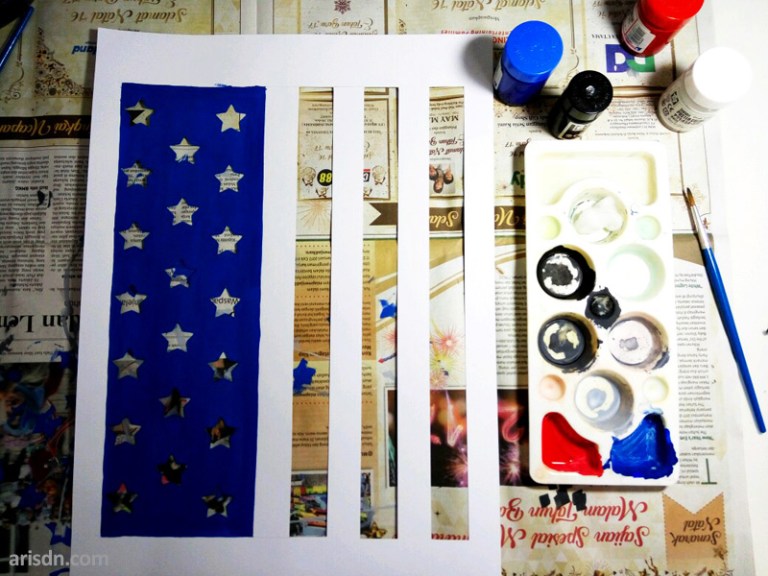 The process of creating background
 The red color for the background
 This background made from 2 layers, blue+white layer combine with red layer.
 The final result of Cupo-Obama.

One thought on “Paper Cutting Cupo-Obama”